For this project, you will need:
Newspaper
Scissors
Modge Podge (a craft glue)
4 8x8 canvases (or choose your own size)
3 in wide paint brush
an exacto knife
clear packing tape
sticky tack-that squishy, sticky stuff that makes pictures stick to the wall and come off easily
acrylic paint
foam roller or foam brush
water
The hardest part of this project is finding some actual newsprint. Newspapers these days are apparently just printing pictures, so this part can involve lots of trips to the newsstand, artful maneuvering of scissors, and maybe some frustration. Don't let this deter you though! If newsprint isn't your thing, you could alternatively paint the canvases, texture them, or cover them with paper or tissue paper.
Just do your thing.

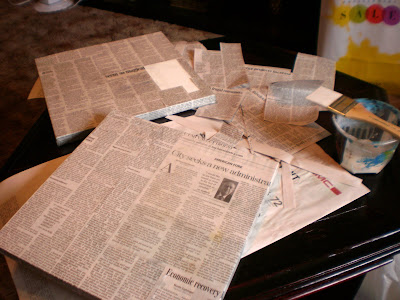
Once you've prepared your newspaper, adhere them to the canvases with Modge Podge mixed with a teesny teensy bit of water. Do not over apply! This will cause major wrinkling and bunching to occur. Use the Modge Podge very sparingly, brush it over the backside of the paper, and quickly smooth the paper onto the canvas.
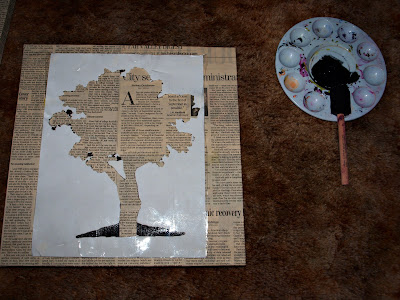
Find some pictures of things you would like to stencil. I chose trees. To me, trees are symbols of life and love and beginnings, so I found a variety of pictures, fitted them to a page, and printed them off. Then (at the suggestion of my wonderful and artistically gifted sister) I covered each page, back and front, with clear packing tape. The tape will create an impermeable barrier so the paint doesn't leak through.
 Using an exacto knife, cut out your stencil. Remember that you're dealing with negative space as you cut out the picture, so whatever you cut out will be the shape of the image. And it will be solid, unless you cut out inserts, like I did in this picture to show a break in the trunk of the tree.
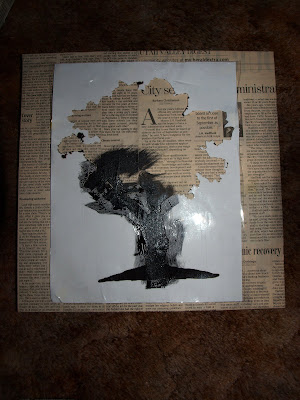
 Place sticky-tack on the back of the image, center it, and secure it down. Then, with a moist foam brush or foam roller, brush the paint in the stencil. Hold down more intricate cuts if you have to-this will help you get a cleaner edge.
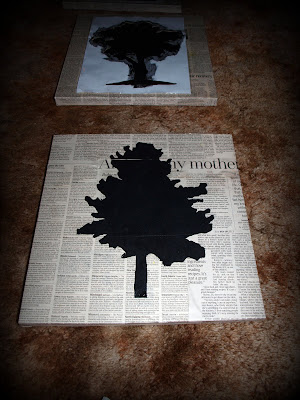
After the paint has dried, remove the stencil
And voila! There you have it! Beautiful artwork that means something to you, that you made yourself. Display it with pride, and you'll never have to cringe when people ask you what you have hanging on your walls. Instead, you can reply, "Oh that. Oh yes, I made it. Isn't it lovely?"
PS- Oh that. Oh yes, that large turquoise canvas, I painted that. During radiation therapy. This is it's debut to the world, my gallery showing if you will. With the addition of the tree stencils, my composition is complete.


No comments:
Post a Comment